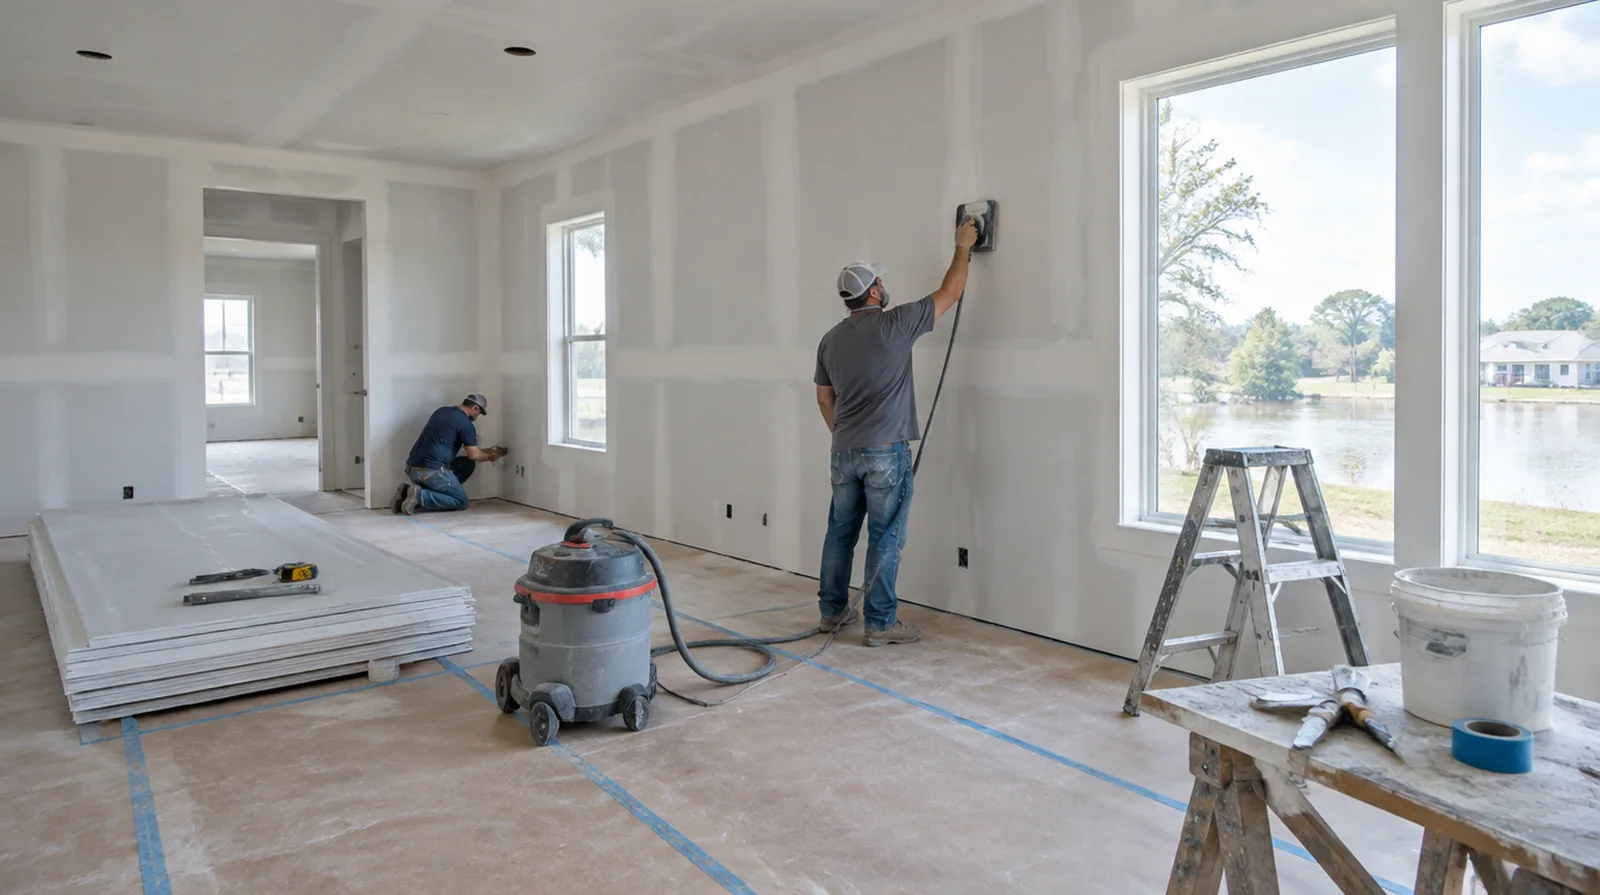
A plan built around the room, not only the patch
Beaumont Drywall Company brings drywall repair and finishing options together for storm-related interior restoration in Beaumont. Start with what is visible, then identify what the surface depends on: firm board, stable framing, dry material and a realistic decorative finish. A small hole and a ceiling with recurring marks may look like similar cosmetic jobs from a distance, but the preparation can be quite different. The first conversation should establish what caused the problem and what must happen before a sound repair can be made. That approach keeps the proposed work connected to the condition of the property rather than a one size fits all patch.
Drywall Finishing: embed the tape
A continuous bedding layer supports the tape and reduces the chance of air bubbles along the seam. At an internal angle, form a clean crease and finish both sides without leaving unsupported edges. For this part of the project, resolve any required inspection before that opening is closed and the finishing work begins. See the drywall finishing guide for the scope questions, preparation stages and finishing decisions specific to that work.
Drywall Installation: confirm concealed work
Wiring, plumbing and insulation inspections could have to happen before the cavity is closed. Photographs and a written readiness check help avoid opening a newly installed wall later. For this part of the project, assign removal and reinstatement duties for the affected devices before repair access is needed. See the drywall installation guide for the scope questions, preparation stages and finishing decisions specific to that work.
Popcorn Ceiling Removal: plan cleanup and reopening
Allow for debris removal, drying and decorating instead of assuming the space is complete immediately after scraping. Allow for drying and painting time instead of assuming the space is usable immediately after scraping. For this part of the project, discuss how the finishing materials can dry without disrupting comfort or spreading dust elsewhere. See the popcorn ceiling removal guide for the scope questions, preparation stages and finishing decisions specific to that work.
Soundproof Drywall: finish the visible surface
The room side of an acoustic installation still needs suitable taping, finishing and coating preparation. The specified sound control details should remain intact while the visible face is made ready for decoration. For this part of the project, decide whether trim stays in position or is removed before agreeing how the new surface meets that edge. See the soundproof drywall guide for the scope questions, preparation stages and finishing decisions specific to that work.
Drywall Repair: review with side lighting
Use an angled view as well as a direct view when reviewing a finished patch. Checking from more than one angle helps separate surface imperfections from differences in decorative paint sheen. For this part of the project, allow for intervals between coats as well as active labor rather than assuming the entire process happens continuously. See the drywall repair guide for the scope questions, preparation stages and finishing decisions specific to that work.
Commercial Drywall: coordinate ceiling junctions
Partition heads and suspended ceiling interfaces need a detail that suits movement and the assembly design. Respect required movement details and retain access to services that must remain maintainable. For this part of the project, review the finish from ordinary room positions using the lighting conditions that were agreed for the work. See the commercial drywall guide for the scope questions, preparation stages and finishing decisions specific to that work.
Skim Coating: define the smoothing target
Removing the visual effect of light texture is not the same task as straightening a badly uneven plane. The scope should describe what the skim is expected to improve and what remains outside that finish treatment. For this part of the project, state whether the obstruction will be removed or whether finishing stops at the section that can be reached. See the skim coating guide for the scope questions, preparation stages and finishing decisions specific to that work.
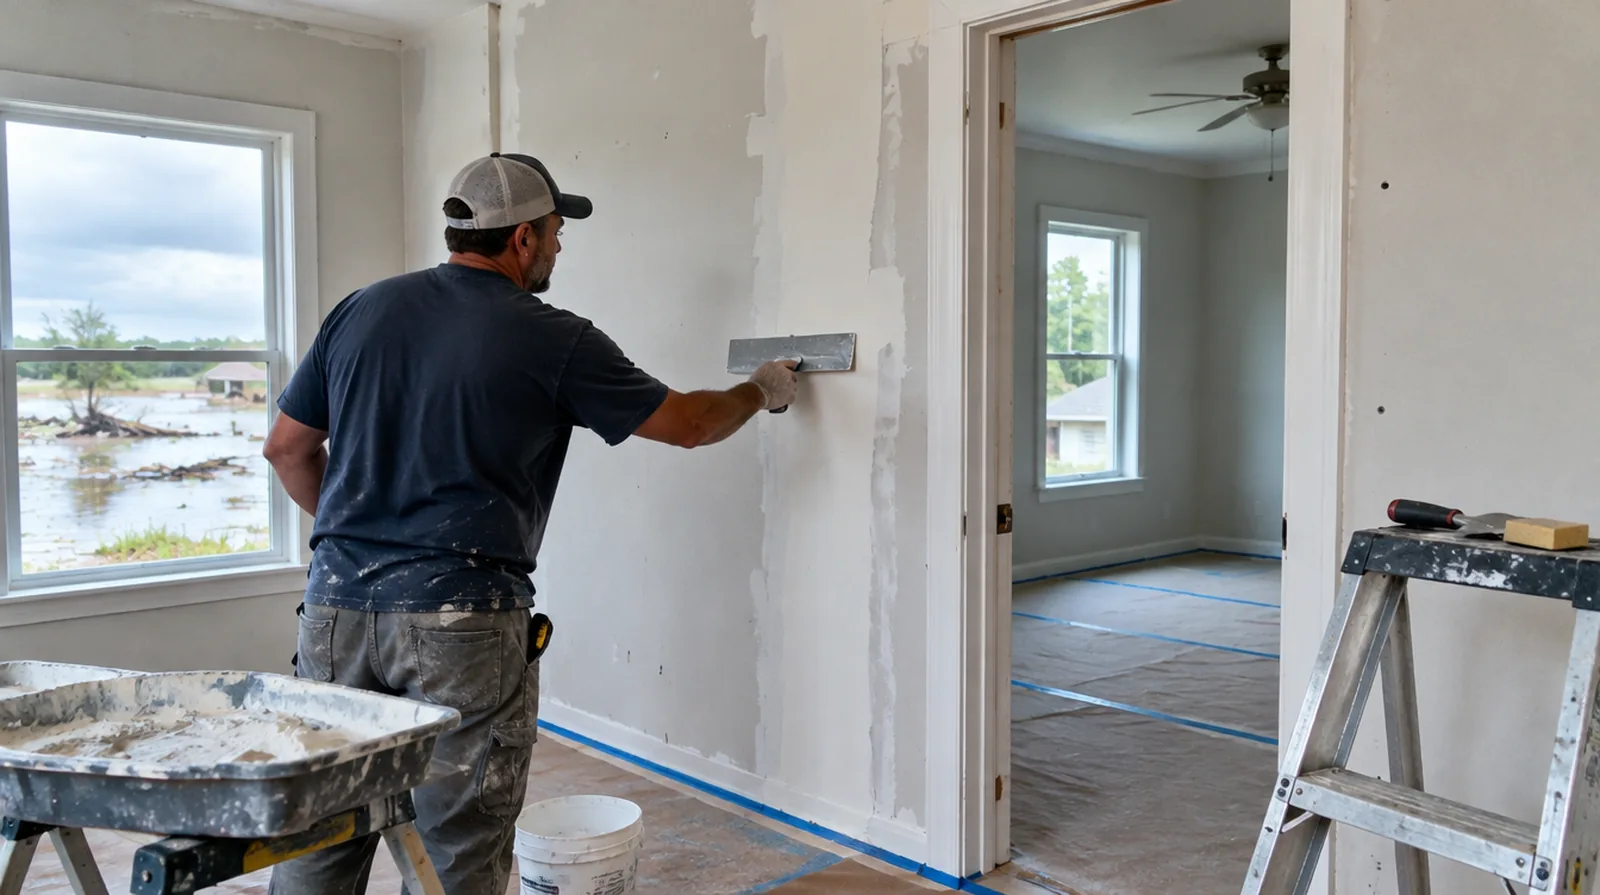
Texture Matching: check the underlying repair
A matching texture cannot hide a raised patch edge or a panel that sits proud of the wall surface. The base repair should be flat and firmly bonded before a decorative pattern is added. For this part of the project, use the agreed lighting and natural room viewpoints so the assessment reflects the intended use of the space. See the texture matching guide for the scope questions, preparation stages and finishing decisions specific to that work.
Ceiling Repair: address isolated stains
A dry repaired ceiling may still need a compatible stain blocking primer before decorative paint. Primer selection depends on the remaining discoloration and should not be used to conceal active moisture. For this part of the project, identify the purpose of each stage and the intervals during which finishing material needs to remain undisturbed. See the ceiling repair guide for the scope questions, preparation stages and finishing decisions specific to that work.
Water Damage Drywall Repair: assess material condition
Look for changes in panel strength and face condition as well as the visible color of a mark. The affected material behind the finish may extend past the stain seen from inside the interior. For this part of the project, identify temporary storage for belongings and establish sufficient clearance for the work before delivery. See the water damage drywall repair guide for the scope questions, preparation stages and finishing decisions specific to that work.
Access and drying conditions in Beaumont
A workable schedule is based on more than the number of hours spent holding tools. Consider single-story ranch layouts with attached garages, where materials can stay dry and how occupants will move around the protected area. With hot weather and heavy Gulf humidity, the finishing process still depends on suitable indoor conditions and adequate intervals between coats. In Beaumont, a project involving replacing only board that has truly been wet should identify the point when the underlying assembly is ready before new board or compound conceals it. If other rooms stay occupied, separate the working boundary from the access that daily routines require. If the property is empty, agree how the broader space can be used without risking retained floors or fittings.
Compare the same finishing boundary
Read the scope as a sequence from protection to handover rather than as a single repair label. The removal boundary, replacement method and finishing standard should connect to the decorative result you expect. Check which coatings are included and where the work stops against existing trim or adjoining walls. Ask how waste leaves the property and who is responsible for fittings that obstruct access. Those details make proposals more comparable and reduce assumptions between trades. If additional damage becomes visible, a clear change process lets the condition be reviewed before the original work package expands beyond what was agreed.
Arrange the information before the next step
Before the next project discussion, collect information that helps distinguish the symptom from its history. Show the whole wall or ceiling as well as the damaged spot, give rough dimensions and note changes over time. Mention any recent work nearby and whether the surface has been patched before. Include the finish you want after painting and the parts of the property that need to remain usable. A photograph supports a conversation but cannot verify everything inside a cavity. For address and service area information, use the contact page. The form sends project requests for review; please do not include sensitive information.
Read about the project approach or view contact and planning details.
More planning details for Beaumont
After storms in Beaumont, interior walls often need repair once a roof leak has been fixed. The key is to remove only the board that was actually wet and to let framing dry before closing the wall. A moisture reading can show how far water traveled behind the paint.